

Posted by Mia Cadusch on 20th Nov 2019
Easy Santa Stocking Sewing Tutorial!
Read Time: 1m 10s
I bought half a metre of red glitter french terry for a crop and bummie project (one of Monty's Christmas Day outfits) and realised the offcuts are perfect for a mini stocking that can be used as a treat bag on Christmas Day.
You can use whatever fabric remnant fabric you have available in your stash however, I recommend using a fabric that is medium to heavy weight so that it holds it's shape. Here is the generic stocking template that I used, I found it online via Google.
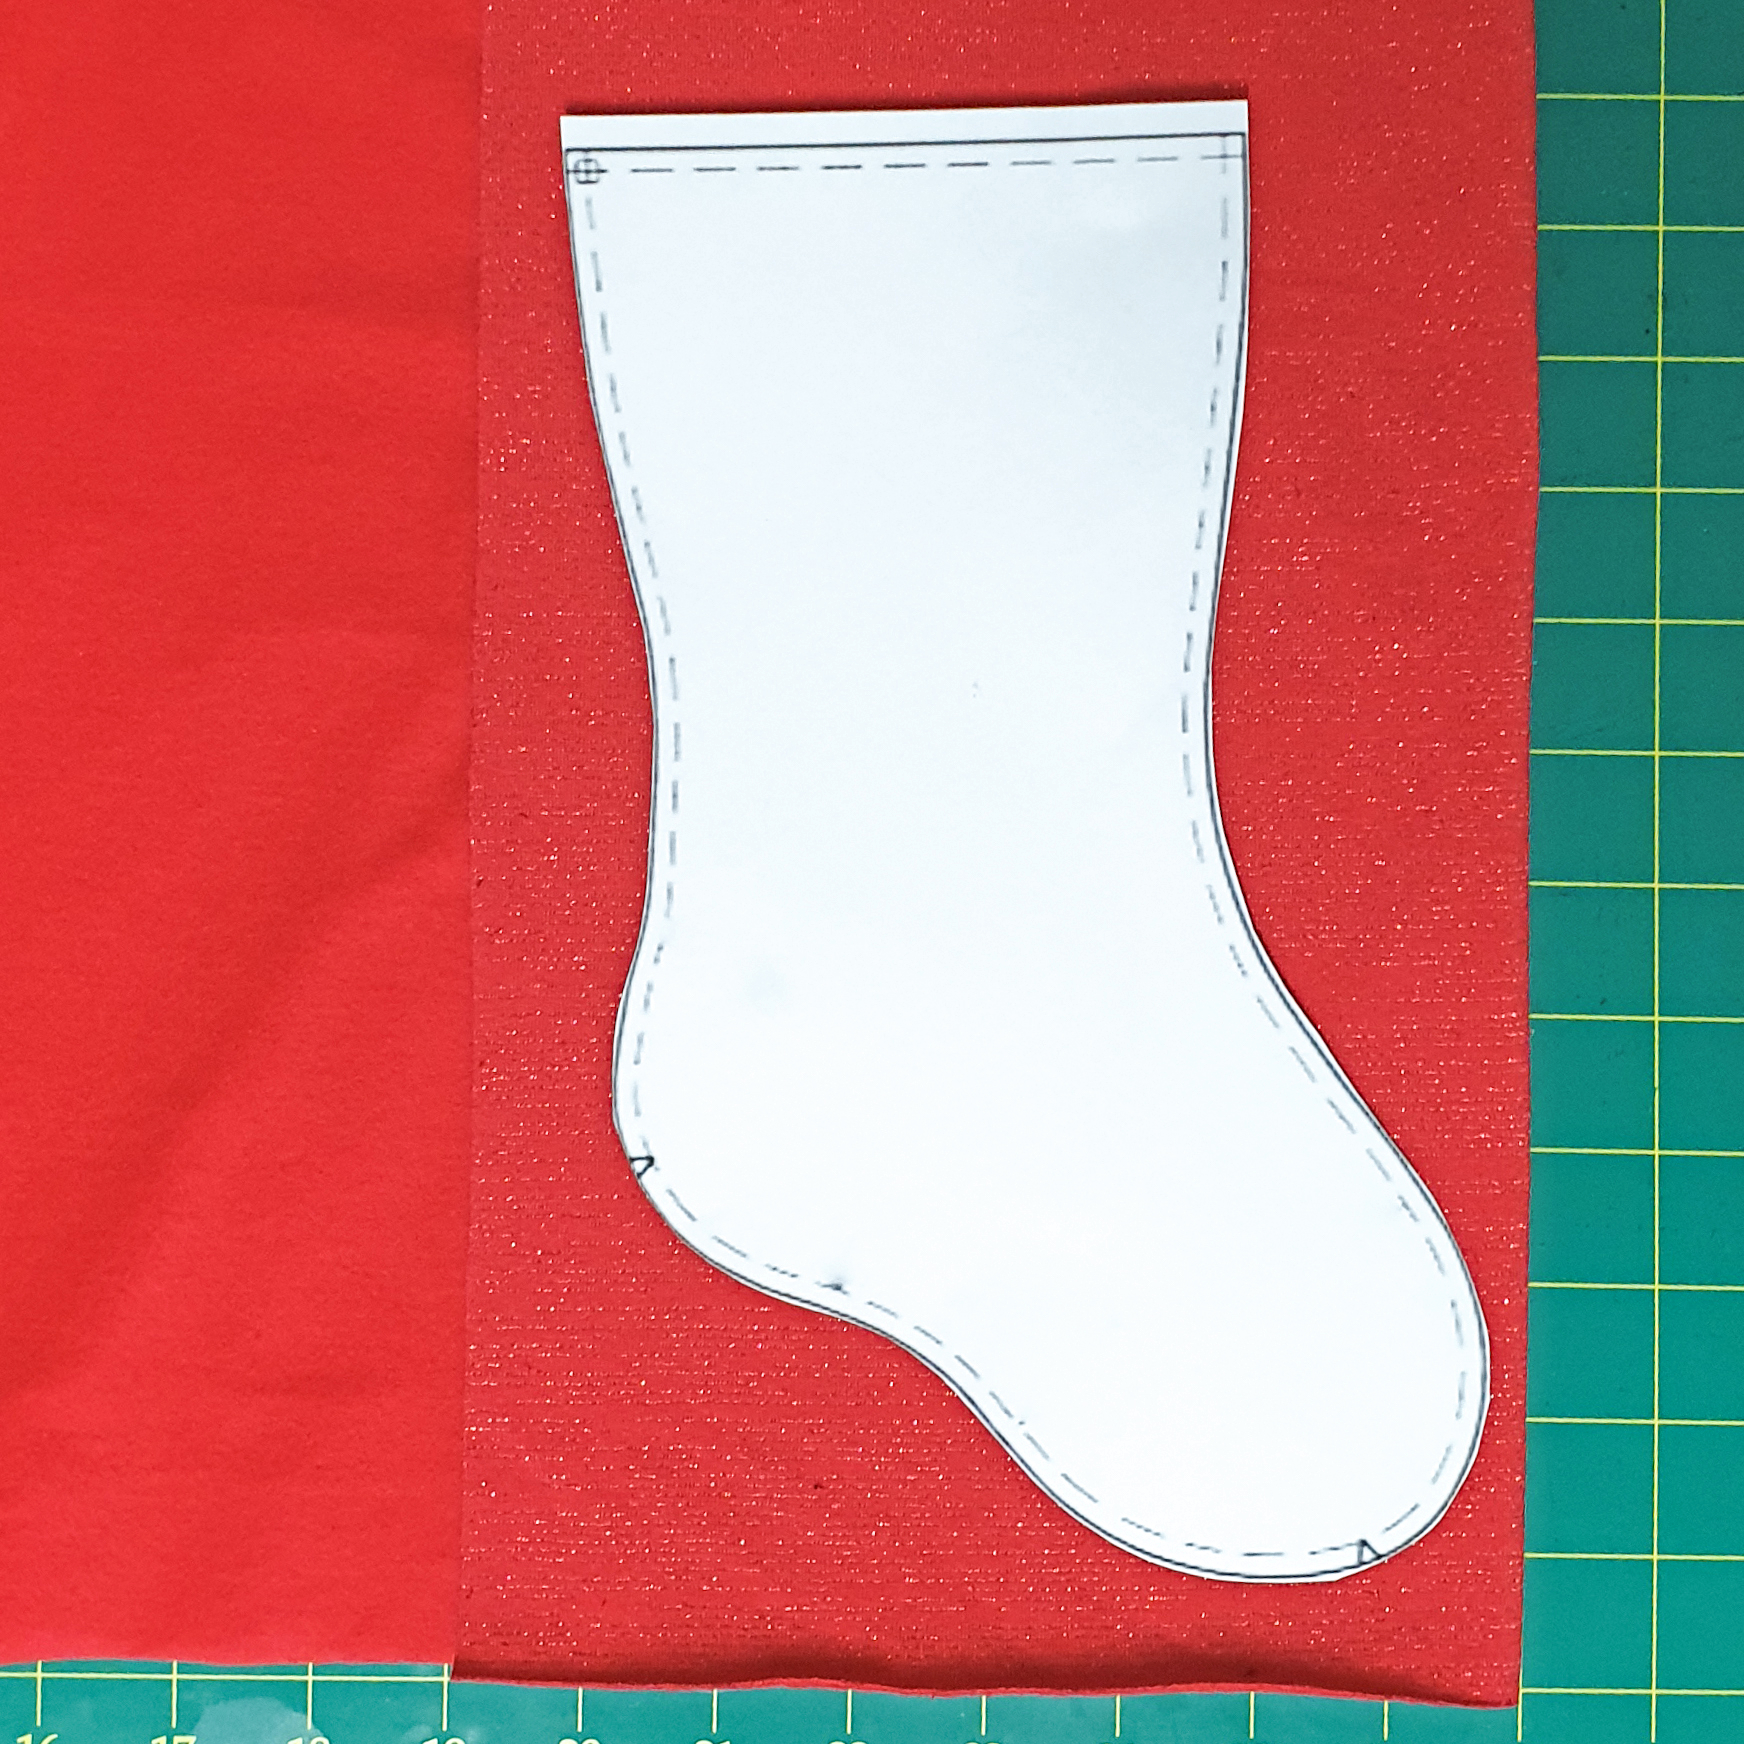
Step 1
Print your choice of stocking template (or draw one). Fold your fabric in half and place your pattern piece on top (you need two mirrored pieces).
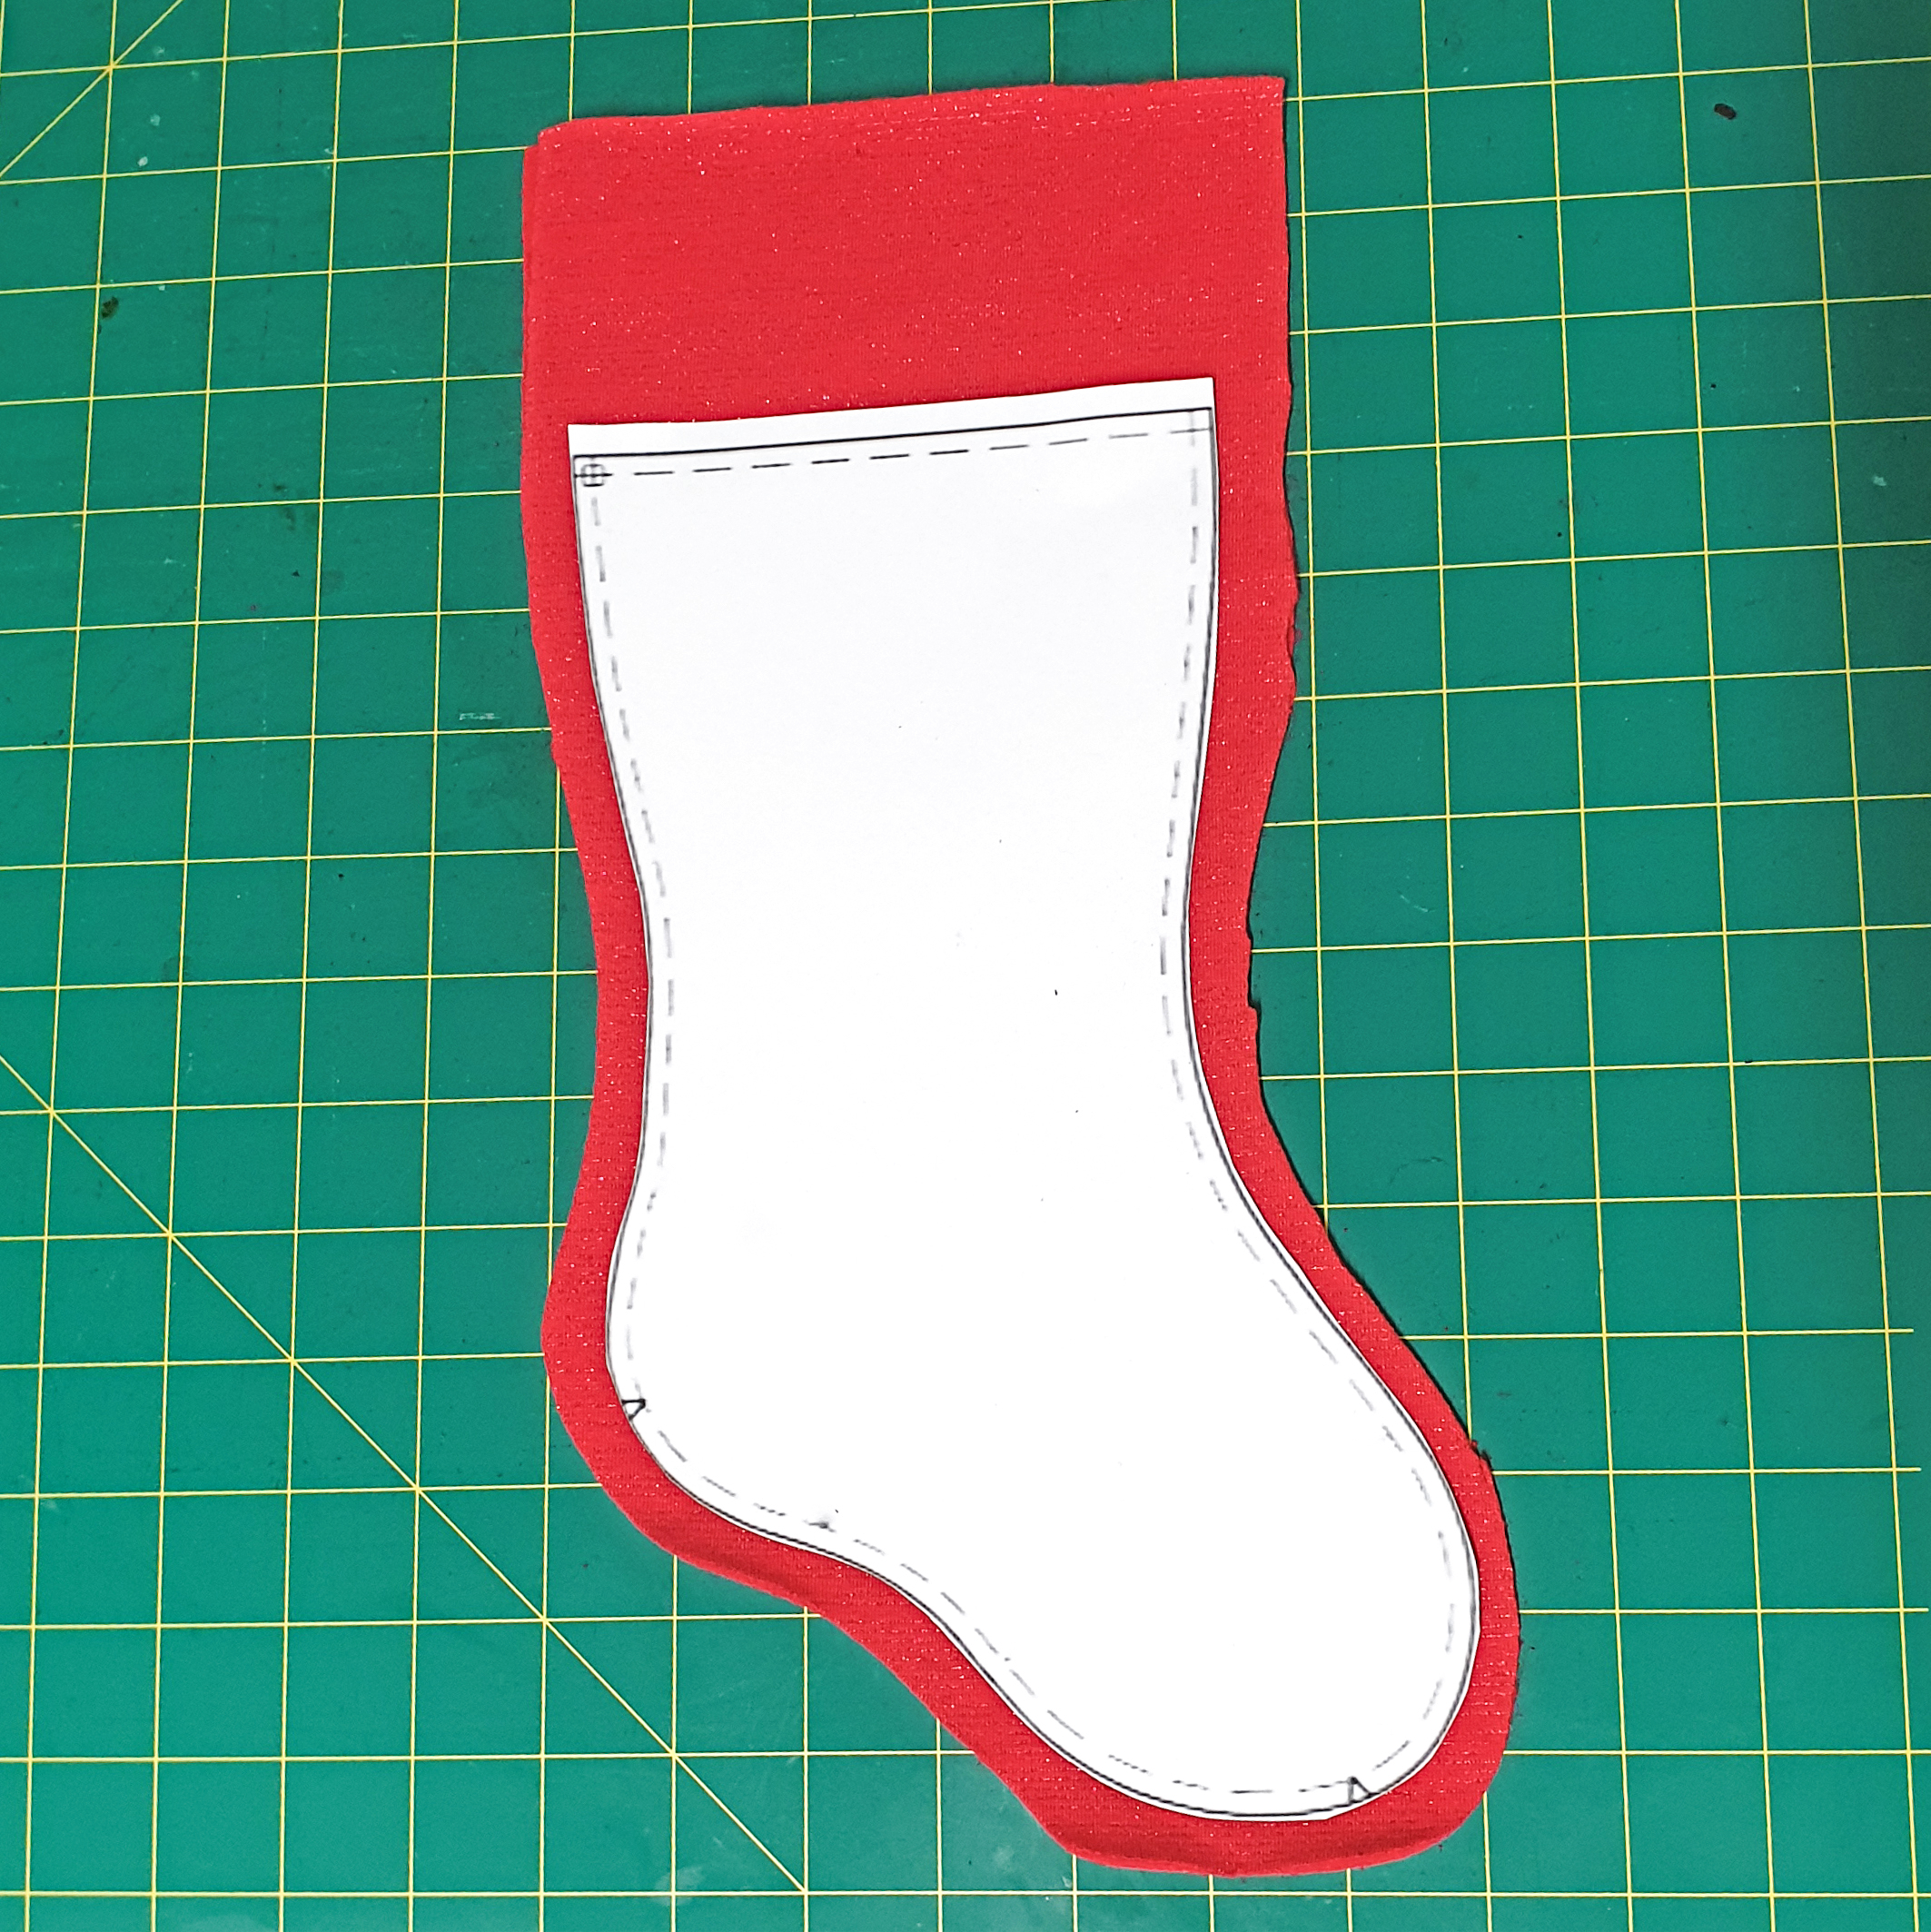
Step 2
Cut around your template, this will give you two mirrored pieces. I've decided to extend the length and width a little by adding extra cutting allowance.
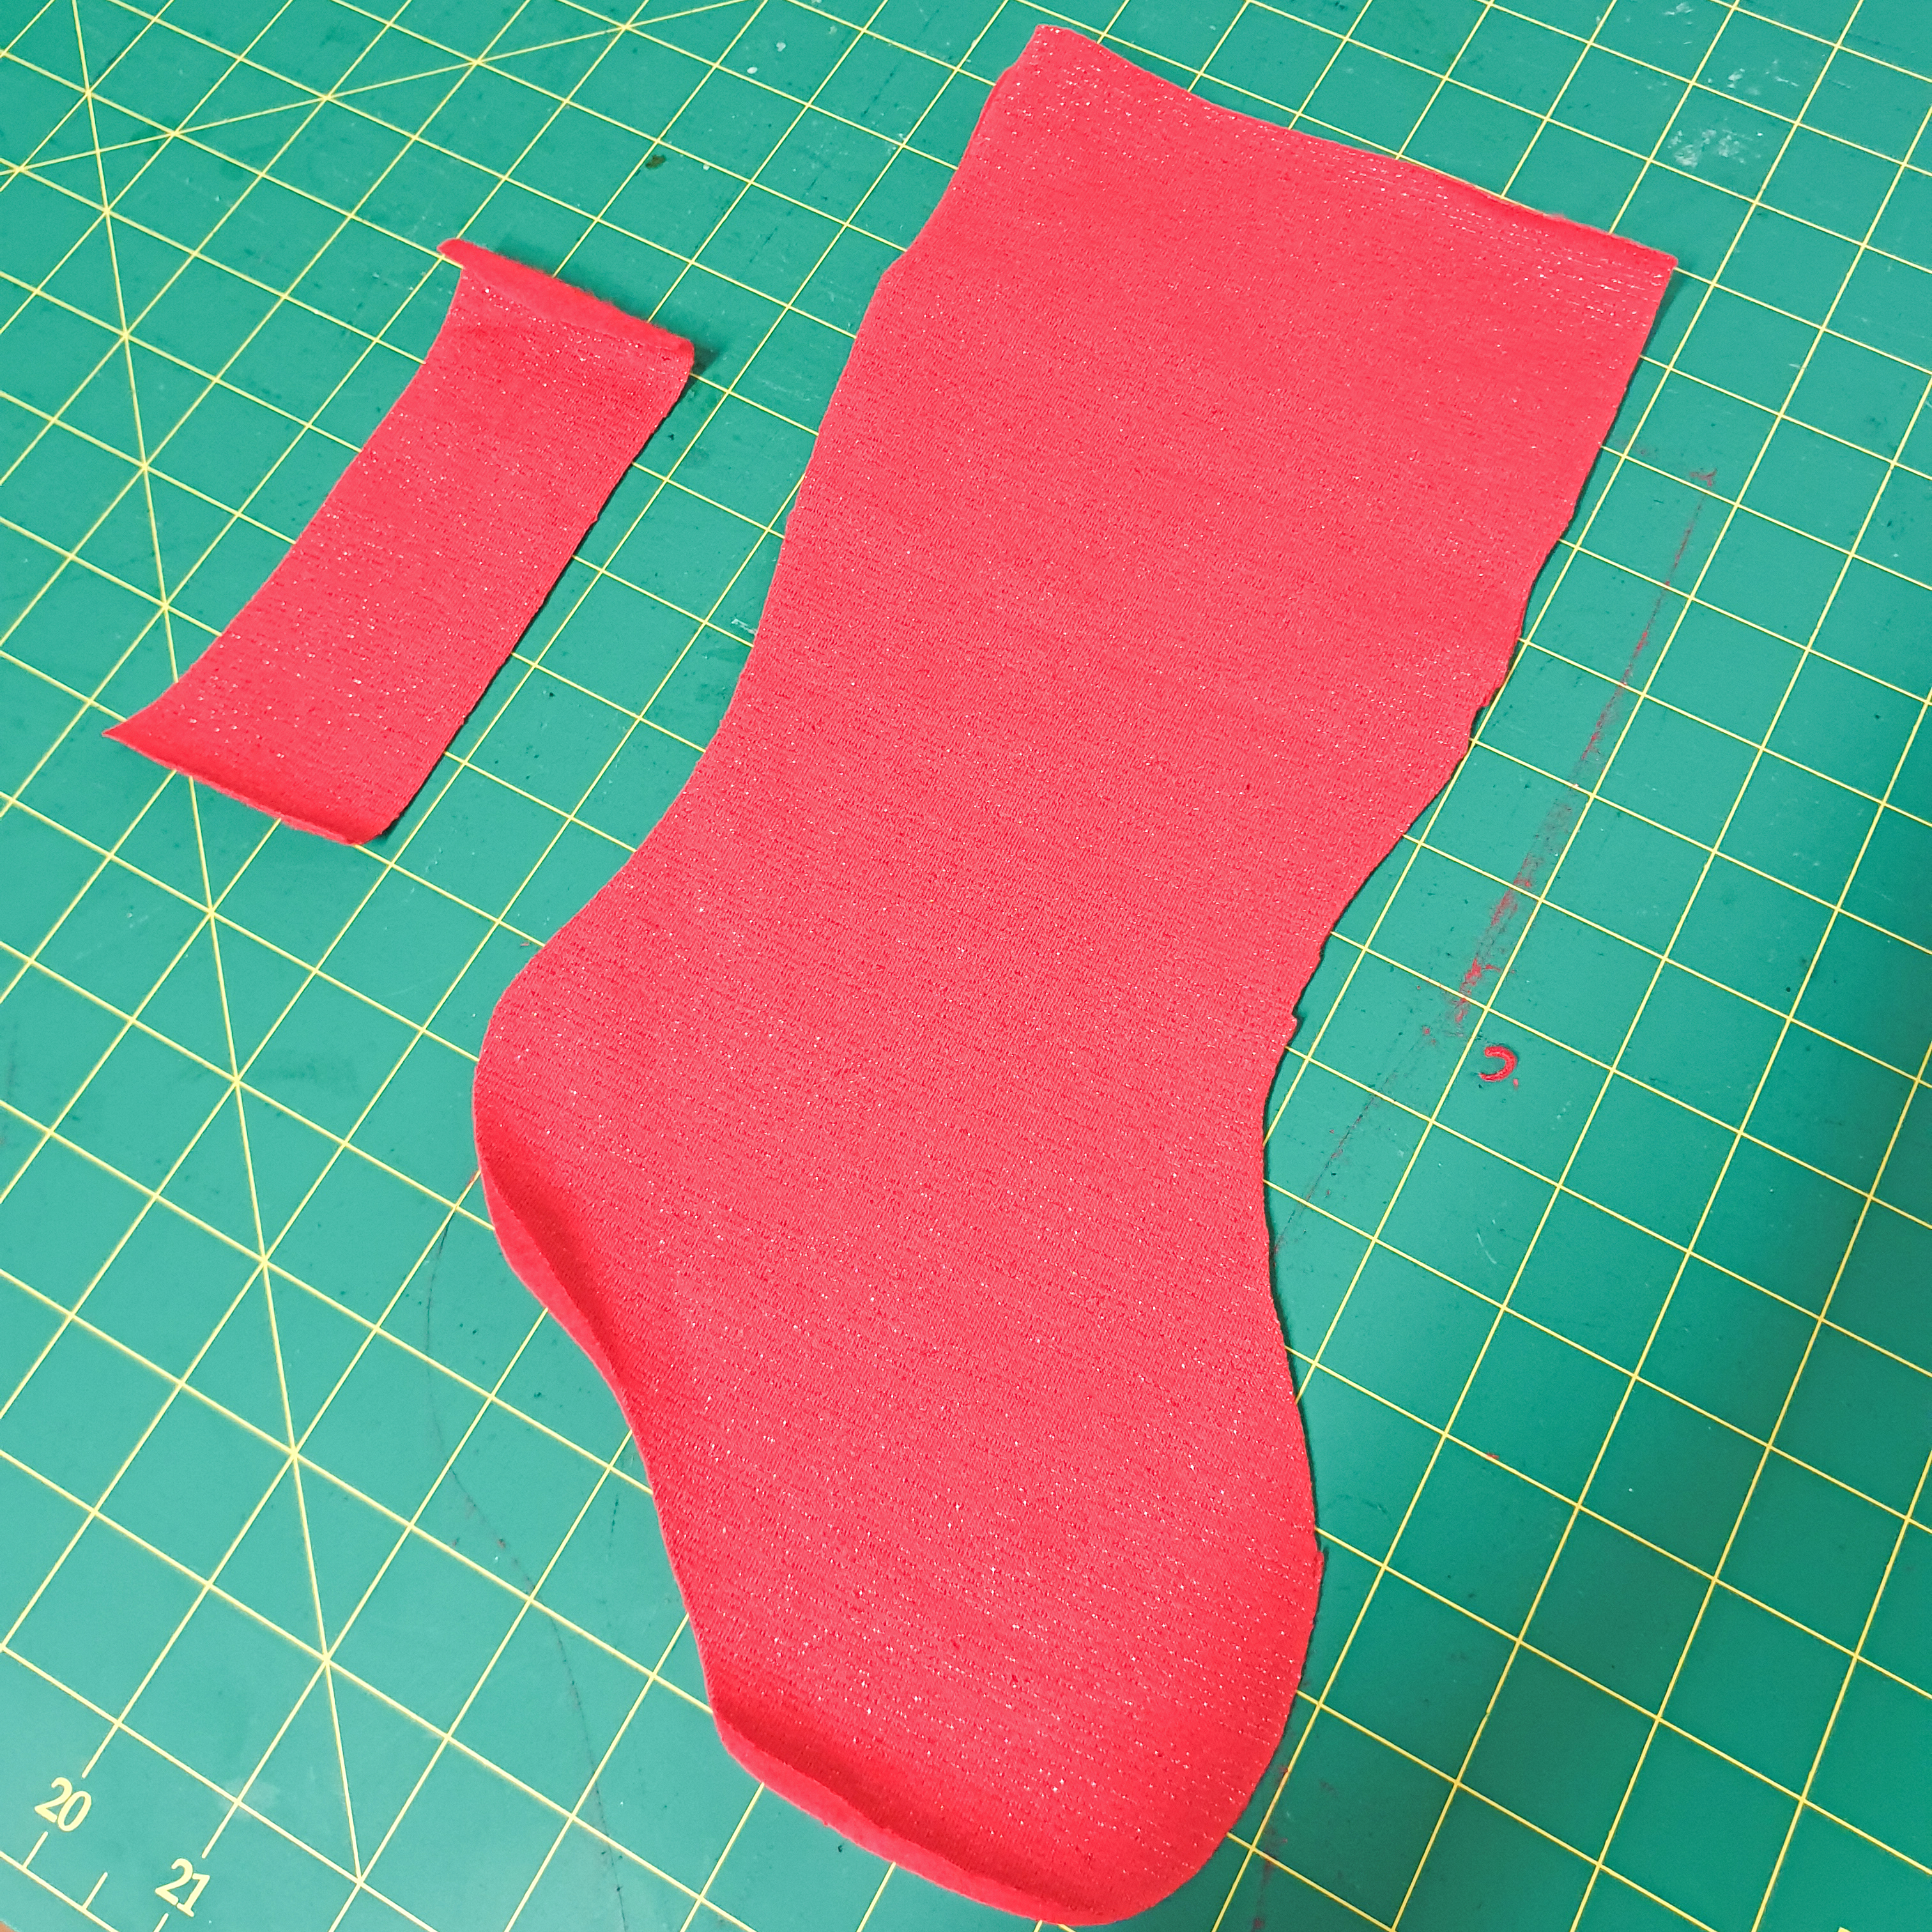
Step 3
Cut 1 hang loop. I cut a rectangle approximately 2" x 6" but you can make it as long or wide as your like. Sew it right sides together down the longest side and turn it right side out.
Step 4
Placing the stocking pieces right sides together, sew around the stocking except for the top edge. Turn your stocking right side out.
Finish the top edge of the stocking using a 1" seam allowance. While you're hemming, place your loop (folded in half) in place and stitch over it as part of your top stitch process. Alternatively stitch the loop in place after you've hemmed the top. Give it a press and you're done!
Personalise it by adding heat transfer vinyl and embellishments!

Sewn and Photographed by Mia Cadusch
